Just got a first hand look at the LBT 1.0.6 version.
In the example files “annual_daylight.gh” and in the “gridbased” and “daylight_factor”, geometry is added as rooms and then thickness to walls is added. Which is a super fine workflow if you receive geometry from an energy model etc.
But if you’re running daylight on the architects’ models, then things are in many cases not in boxes. Is there a way to still include meshes for context etc in the LBT 1.0.6?
In legacy I used to use the Msh2Rad function for most geometry to keep heavy models lighter, instead of creating an object per surface of a brep.
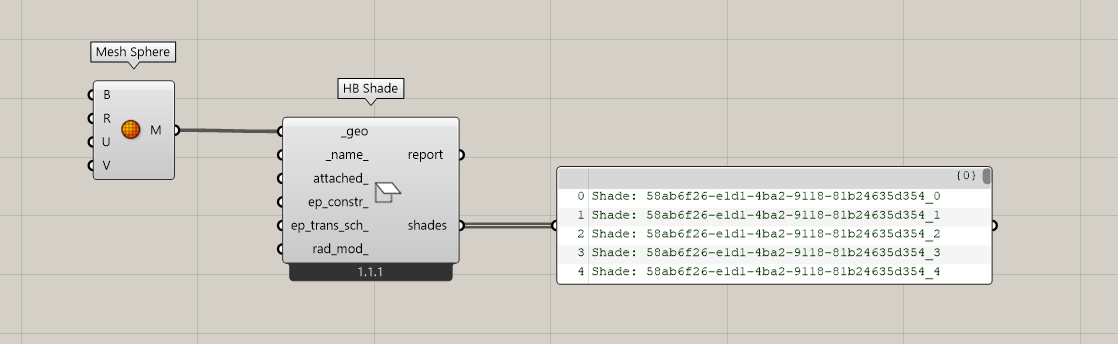
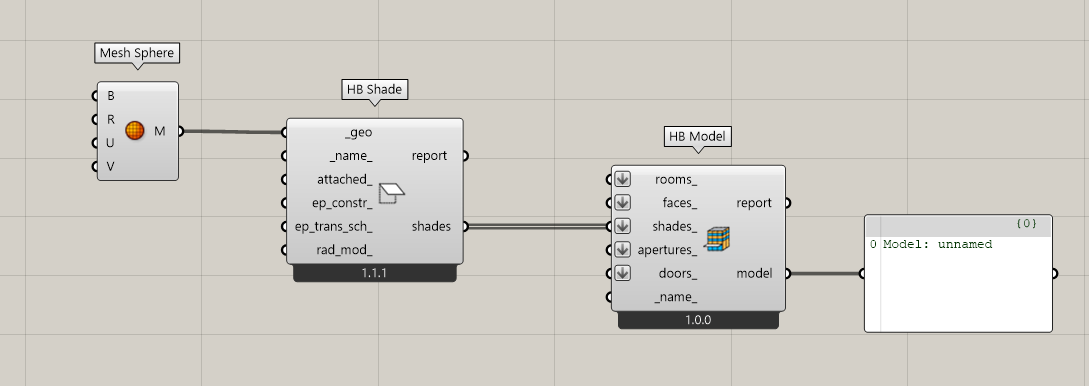
If you don’t care about assigning anything to the objects other than a radiance modifier, then the “HB Shade” is the lightest of the Honeybee objects since it has no boundary conditions or children. And you can add them to your radiance models under the _shade input:
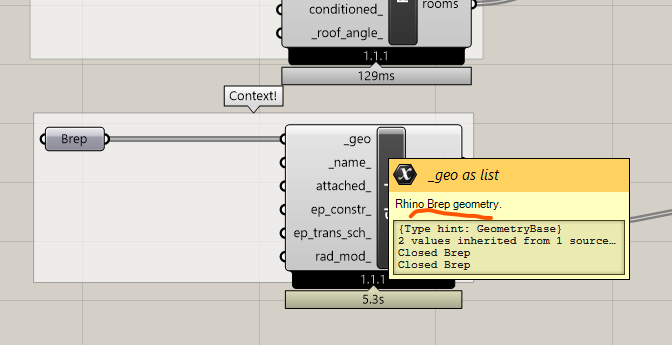
Thanks @Mathiassn . Good catch with the description. I just updated the component docstrings:
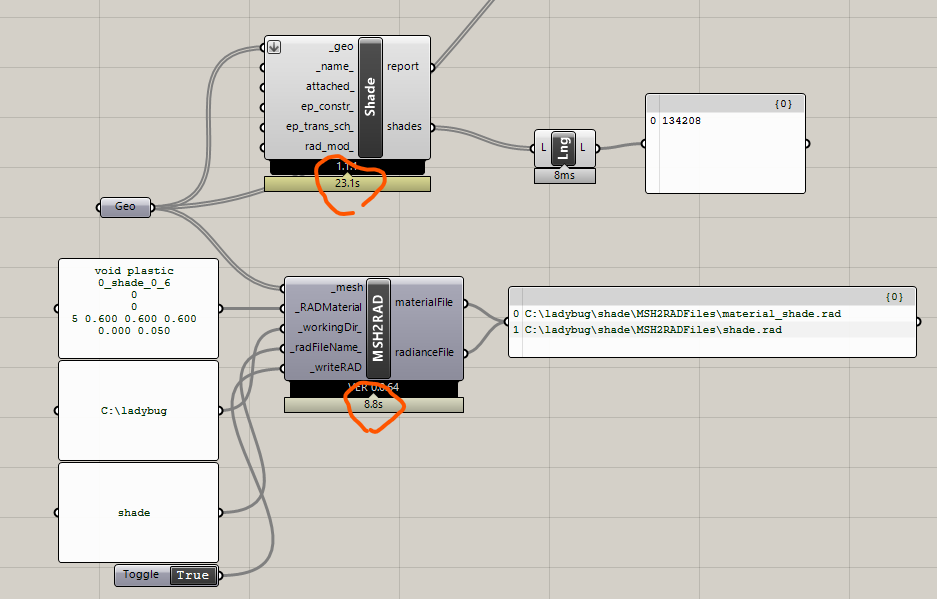
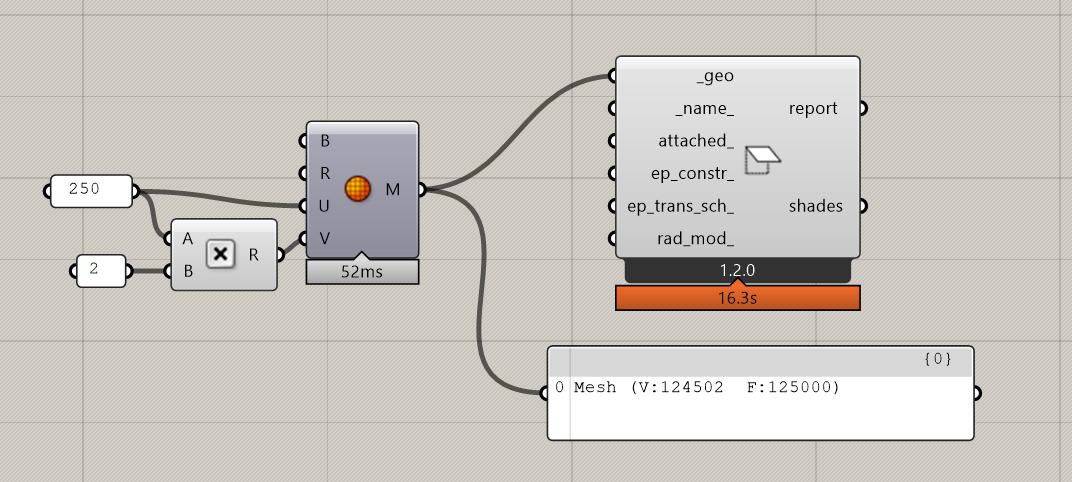
Also, I know for a fact that somewhere between a third and a half of the overhead for your case there results from dumping more than 134,000 custom Python objects into the Grasshopper GUI. There’s a simple way that we can cut this time down by wrapping the custom objects in a generic GOO type for Grasshopper and I included this wrapping within the PR above. At least on my machine, this allows me to generate a similar number of shade objects in ~2/3 of the time as it shows on your machine:
I realize that the run time is still more than the HB[+] Mesh2Rad component but there are a lot of advantages that you gain for the extra time that it takes. Notably:
You can check to be sure that the mesh geometry is exported correctly to Radiance by visualizing the geometry of the Shades with any of the components in the Honeybee Visualize tab. This includes checking the modifier, and the normal of the mesh faces. The latter is particularly important because, as you know, some materials in Radiance have different behavior in Radiance depending on the direction they point and checking the normals of the mesh in Rhino does NOT guarantee that the normals are the same in Radiance (since Radiance always strictly enforces the right-hand-rule but Rhino does not). But, if you use the “HB Visualize Normals” component, this will always show you the correct direction of the faces in Radiance.
Having the Mesh geometry represented as a Shade means that you can save it into a Honeybee Model JSON. I know that the ability to save your Honeybee models into a single external file might not seem like a big deal now while many of us are almost exclusively working on our own machines in our own Grasshopper definitions. But, as we roll out the plugins for Rhino (standalone), Revit, and Blender, having the ability to pass models back and forth between these CAD platforms and from one machine to another is going to become more important.