This is my script:
from honeybee.room import Room
from honeybee.radiance.recipe.daylightcoeff.gridbased.DaylightCoeffGridBased import GridBased
from ladybug.wea import Wea
from honeybee.radiance.sky import SkyMatrix
#from honeybee.radiance.recipe.pointintime.gridbased import GridBased
#from honeybee.radiance.sky.climatebased import ClimateBased
pull up the Ladybug locaiton data …
epw_file = ‘USA_MN_Duluth.727450_TMY2.epw’
wea = Wea.from_epw_file(epw_file)
sky_matrix = SkyMatrix(wea)
The boundaries of teh floorplan
Floorplan_Boundries = Room(origin=(0, 0, 0), width=50, depth=50, height=3.2,
rotation_angle=45)
rooms 1,2,3 are actual rooms inside the floorplan
room_1 = Room(origin=(1, 0, 0), width=4.2, depth=6, height=3.2,
rotation_angle=45)
room_2 = Room(origin=(10, 1, 0), width=4.2, depth=6, height=3.2,
rotation_angle=45)
room_3 = Room(origin=(10, 20, 0), width=4.2, depth=6, height=3.2,
rotation_angle=45)
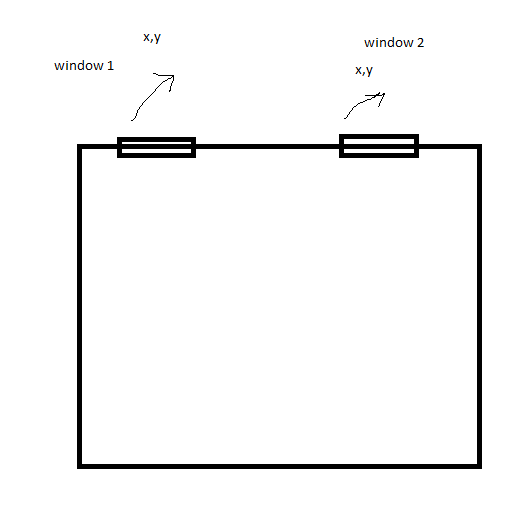
add fenestration
# add a window to the back wall
room_1.add_fenestration_surface(wall_name=‘back’, width=2, height=2, sill_height=0.7)
room_2.add_fenestration_surface(wall_name=‘back’, width=2, height=2, sill_height=0.7)
room_3.add_fenestration_surface(wall_name=‘back’, width=2, height=2, sill_height=0.7)
Floorplan_Boundries.add_fenestration_surface(wall_name=‘back’, width=2, height=2, sill_height=0.7)
generate grid of test points for the actual rooms
analysis_grid_1 = room_1.generate_test_points(grid_size=1, height=0.75)
analysis_grid_2 = room_2.generate_test_points(grid_size=1, height=0.75)
analysis_grid_3 = room_3.generate_test_points(grid_size=1, height=0.75)
put the recipe together
rp = GridBased(
sky_matrix,
analysis_grids=(analysis_grid_1, analysis_grid_2, analysis_grid_3),
simulation_type=0,
hb_objects=(room_1, room_2, room_3, Floorplan_Boundries)
)
write and run the analysis
batch_file = rp.write(target_folder=r’c:\ladybug’, project_name=‘room’)
rp.run(batch_file, debug=False)
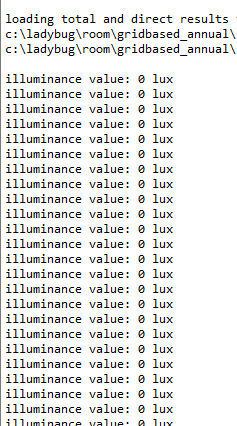
results - in this case it will be an analysis grid
result = rp.results()[0]
print the values for each point
for value in result.combined_value_by_id():
print(‘illuminance value: %d lux’ % value[0])
for pt in room_1.generate_test_points(grid_size=0.5, height=0.75):
print(pt)
I believe I am missing something with importing packages @SaeranVasanthakumar