Hello Ladybug Tools community,
After many years of waiting and requests from the community, we’re excited to finally share that one of the last major missing Legacy features is now in the new LBT Grasshopper. With this release, IES-based luminaire workflows now live fully alongside the rest of the modern Honeybee and Ladybug Tools.
The new workflow is built around three core concepts: Luminaires, LuminaireZones, and LuminaireInstances, which together separate photometric definition from physical placement and orientation in the scene.

How to get the Components
The new luminaire components are currently available via the latest Pollination Grasshopper/Rhino single-click installers, which is the easiest way to get up and running. Alternatively, they are also available through the LB Versioner component.
Sample
If you want to get started immediately, you can find a sample file using the Point In Time View recipe under honeybee-grasshopper-radiance on GitHub. The following section will go through the new components.
How to use the Components
For those of you who used electric lighting in the Legacy Honeybee plugin, the overall workflow should feel quite similar. You define photometric data, place luminaires in space, assign them to the model, and then run a lighting recipe.


Defining a Luminaire
The HB Luminaire component accepts either a standard IES file or a text string containing IES data. This creates a Luminaire object that holds the photometric definition of the fixture.
On its own, this object is purely descriptive – it does not yet exist anywhere in the model. To make it part of a simulation, it must be paired with a LuminaireZone that specifies physical placement and orientation.
Placing Fixtures in Space
The HB Luminaire Zone component is used to describe one or more physical instances of a luminaire within the scene.
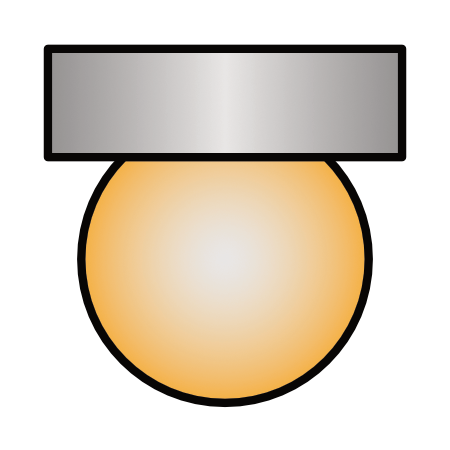
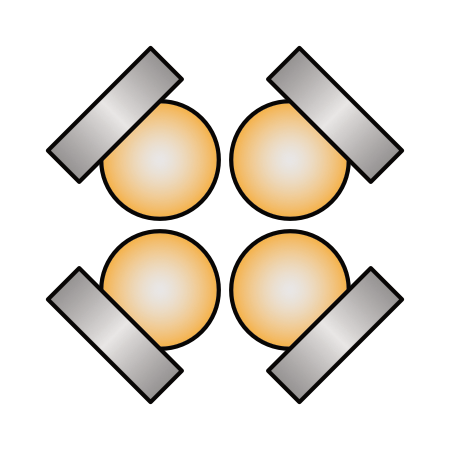
Each LuminaireInstance stores a 3D location along with a spin value around the G0 axis and orientation relative to the global Y and Z directions. This structure makes it easy to define repeating patterns of fixtures while keeping them tied to a single IES definition.
If you prefer, instances can also be aimed toward a target point in space, which automatically sets their primary direction. A manual spin rotation can still be applied afterward for fine control.
Using Multiple IES Files
Scenes that include different fixture types can be built by creating multiple HB Luminaire objects, each paired with its own HB Luminaire Zone. These can all be assigned to the same model and evaluated together in a single lighting recipe.
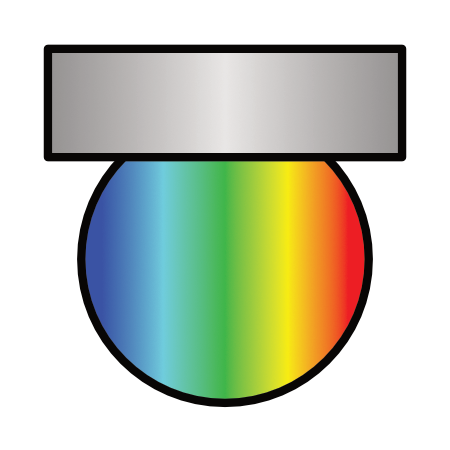
Customizing Lamp Appearance
The HB Custom Lamp component lets you override the default lamp definition by specifying color temperature, chromaticity coordinates, or RGB values.
If you only provide a name, a neutral lamp definition (3200K) will be used unless the name matches one of the predefined lamp presets.
When multiple inputs are supplied, the component resolves them by priority. For example, a color temperature input will take precedence over chromaticity coordinates if both are connected.
You can see more about the predefined lamp names and the priority of input by reading the documentation in the component.
Checking Orientation and Output
Before running a simulation, you can use HB Visualize Luminaire to inspect the photometric distribution, luminous opening, and the C0–G0 reference axes.
This preview step is especially helpful for confirming that fixtures are aimed and rotated as expected.
Assigning Luminaires to the Model
Once your setup is complete, use HB Assign Luminaires to attach your luminaires to the model and connect them to a lighting recipe. This step is similar in spirit to how SensorGrids and Views are added in other Honeybee workflows.
Electric-Light-Only Scenarios
If you want to evaluate electric lighting without any sky contribution, you can run a “dark sky” setup by using HB Certain Illuminance with the illuminance value set to 0.
Changes from Legacy
Some of the workflow differences from Legacy Honeybee have already been touched on in the component walkthrough above, but here is a focused list of the main changes to make it easier to see what is different in the new implementation.
Luminaire
The new Luminaire object in honeybee-radiance is now a first-class object, meaning it fully integrates with the model workflow. It includes built-in methods to generate the Radiance scene file directly via ies2rad. In Legacy, you had to manually write the scene file and add it to a recipe as an extra scene file. Now, you simply add the Luminaire to the model, just like you would with SensorGrids or Views.
Visualization of Luminaire
Visualization has been separated from the main Luminaire component. There is now a dedicated component that visualizes the luminaire web, the luminous opening, and the C0-G0 axes.
Next Steps
Currently, Luminaires are supported only in Point-in-Time View and Point-in-Time Grid recipes. In the future, we plan to extend Luminaire support to annual daylight simulations.